Got the finished polyethylene valance installed today. It was reasonably uneventful. I made sure that all the lower mounting bolts have the large flat washers in place and are finger tight so the valance can move and flex with the nose. The upper mounts use #14 screws with attached washers. These, I wrapped in Teflon tape and finger tightened as well. The Teflon tape allows the screws to remain in their position even though they are not fully tightened to spec.
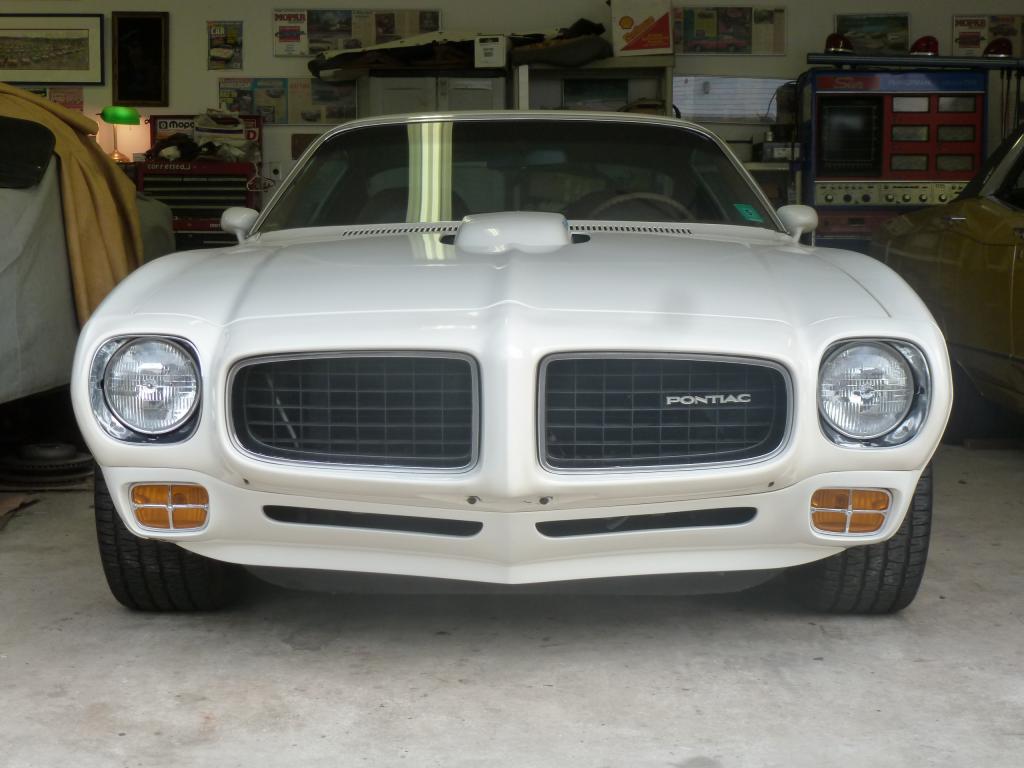
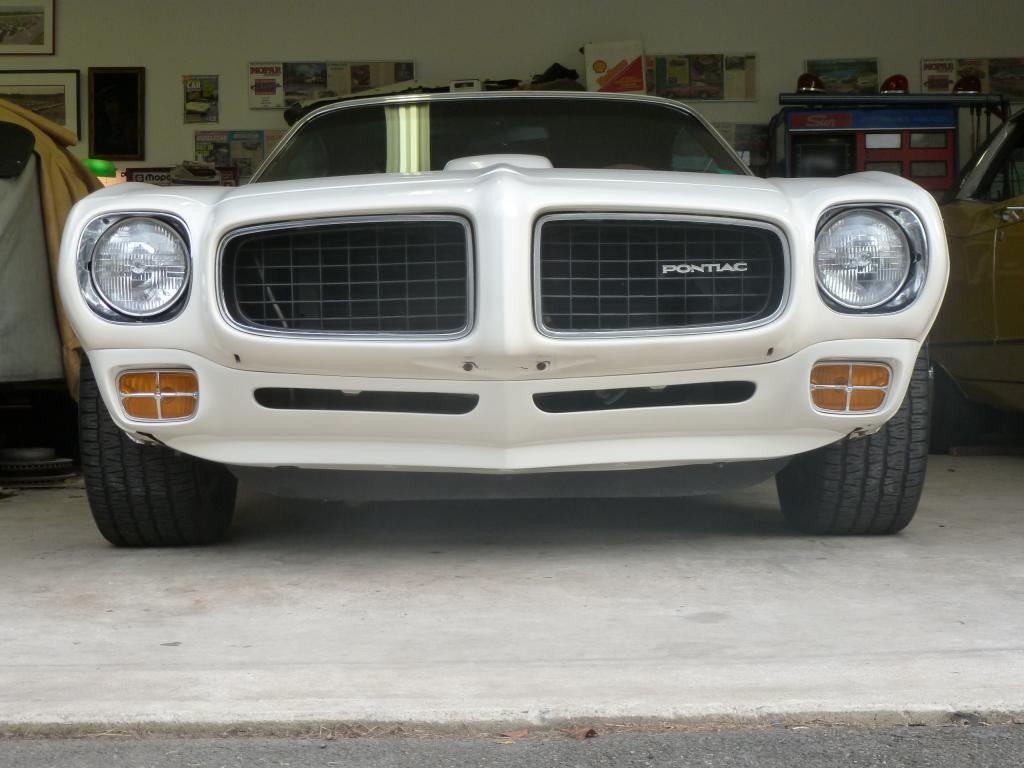
The front end sure looks a lot more streamlined with the polyethylene valance than it did with the warranty replacement steel valance that was installed by the dealer when the original poly valance shattered.
Before, with the steel valance:

And after:
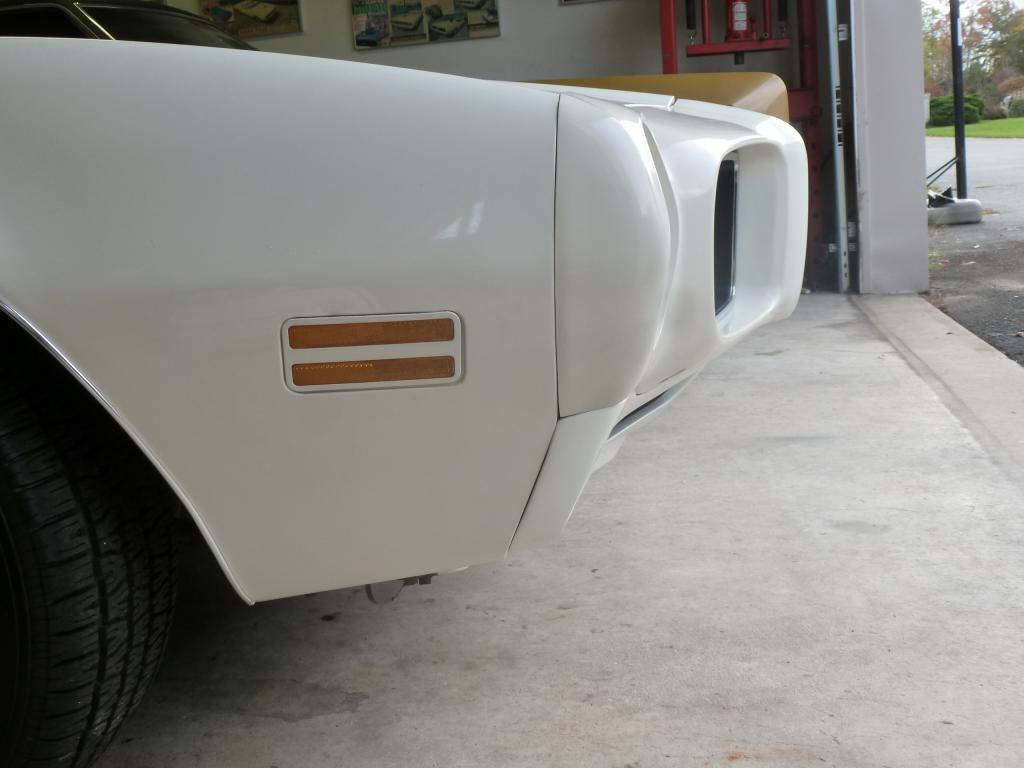
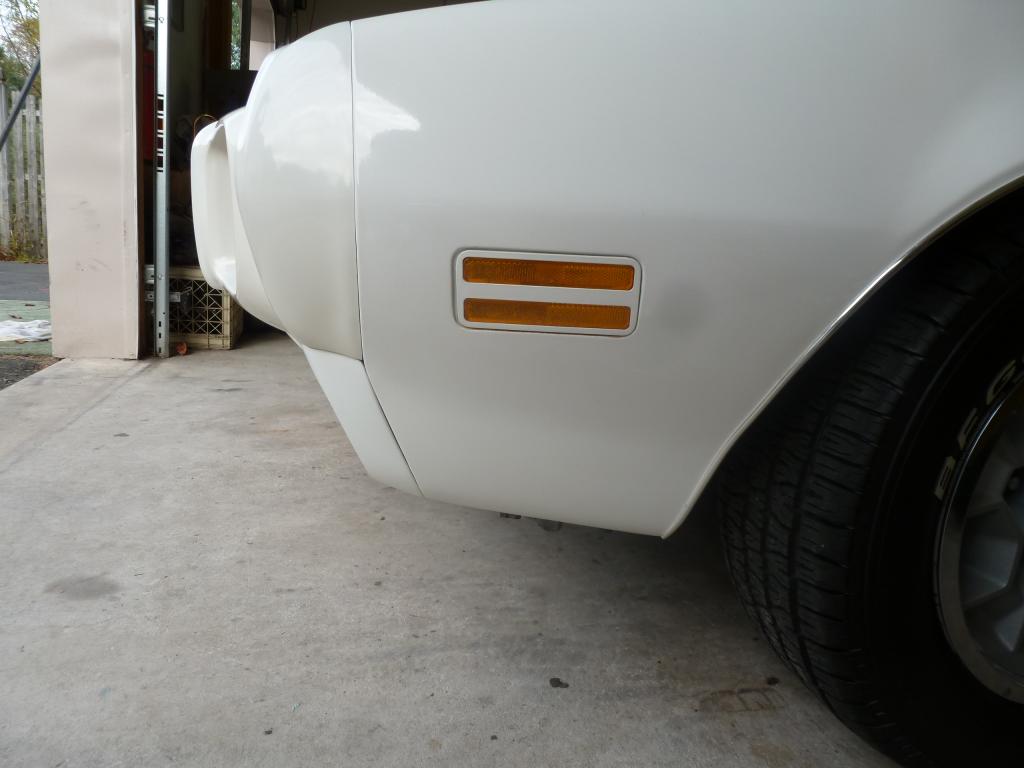
In this shot you can really see the difference in the hue of original paint on the bumper as compared to the front fenders. The flexible nose/bumpers were painted by the manufacturers and installed on the cars in their prepainted configuration, while the body sheetmetal was painted on the Norwood/Fisher Body assembly line.