After a considerable wait, my TH400 was eventually shipped from ATI in Maryland. I've used both ATI and A1 Racing automatics transmissions for something like forty years. I knew both of the respective company founders very well. When Jim Beattie passed away, ATI was handed over to to his very capable son JC. Marc Ripes (from A1) on the other hand sold his business. I elected to go with ATI. JC runs a great business!
Anyway, while waiting for the transmission, I decided to install the shifter from Precision Performance. It's a fabulous piece and you'll soon see why...
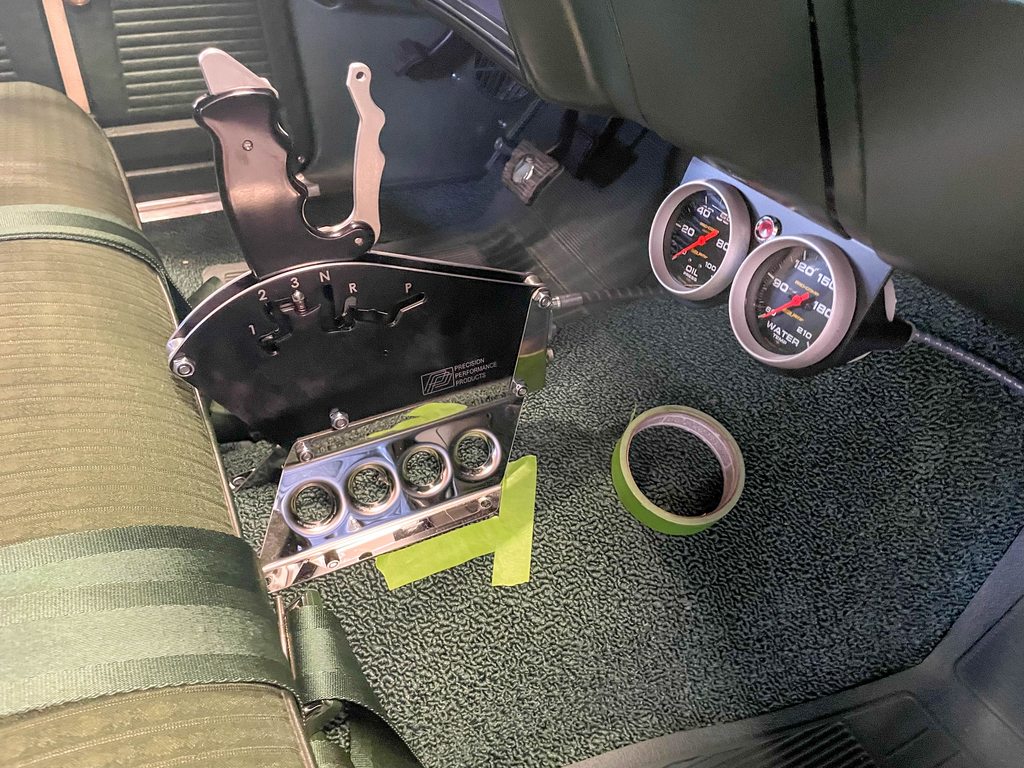
First things first...I mocked it up in the car. I use tape to lay out where it will be, after getting in the car, moving the bench seat around and getting comfortable.
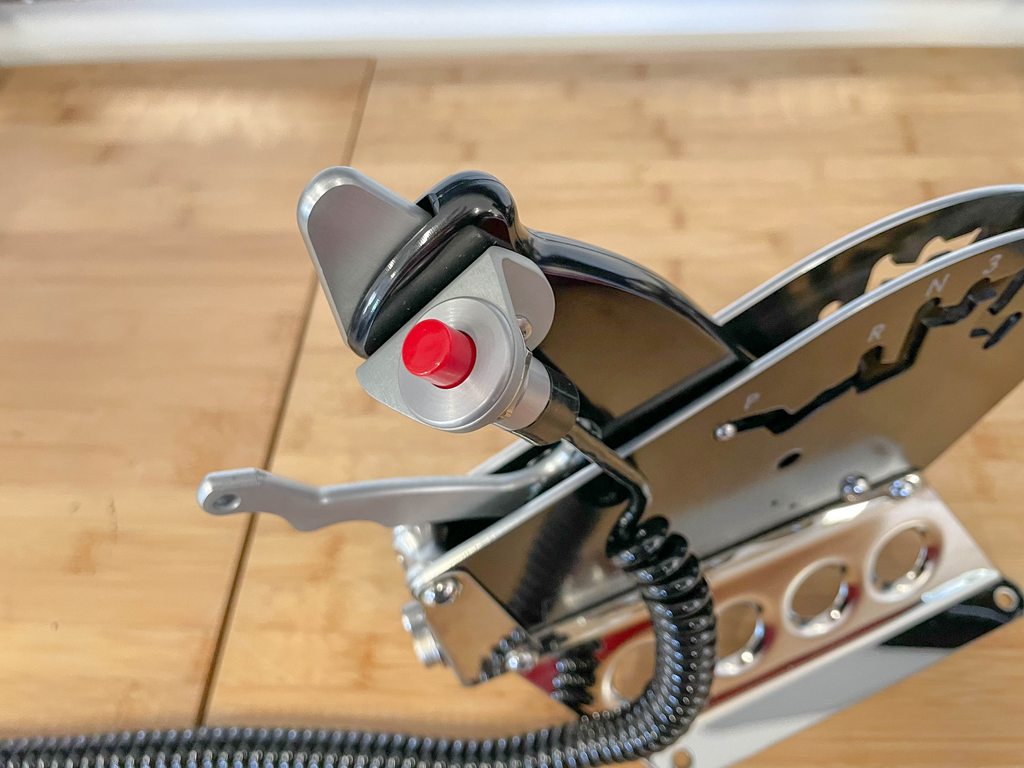
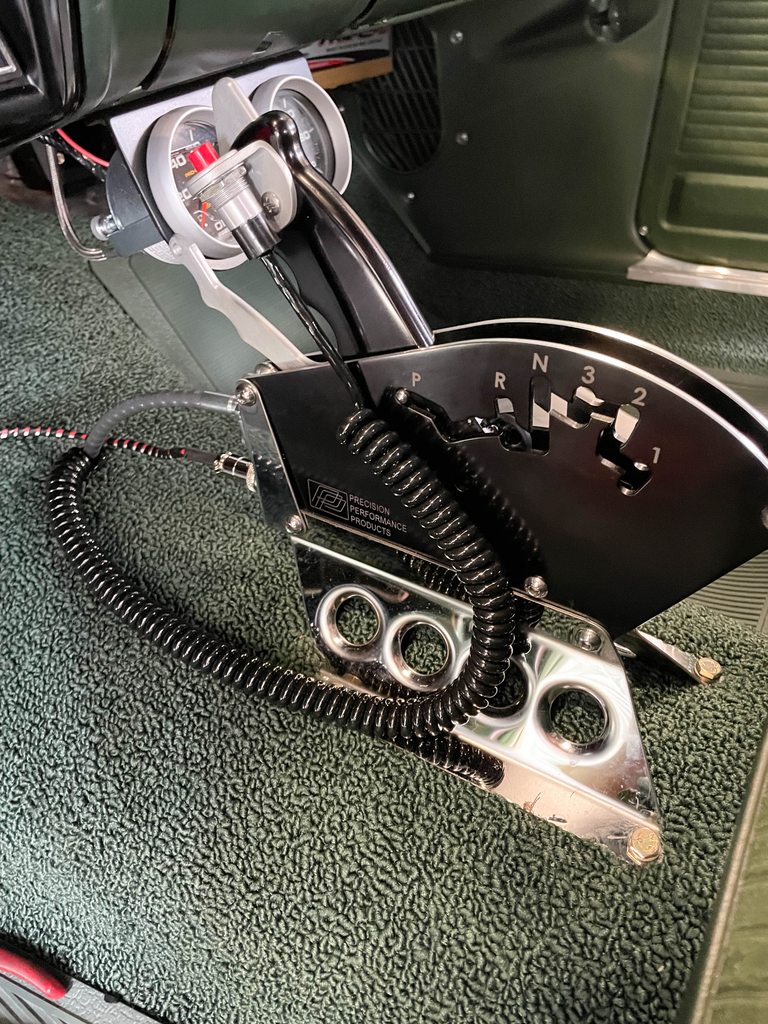
Here's the shift gate. As you can see, it's a forward pattern setup. I prefer forward pattern transmissions on the street. I'll get to that later. With the Precision Performance shifter, once it's in first gear, it operates like a ratchet. When changing upshifting, just keep slapping the shifter forward. When downshifting, you simply pull the lever and the shifter handle simultaneously.

The sliver "button" on the shifter handle is used when you need to go into reverse or park. Meanwhile, the red button is the line lock (roll control) switch.
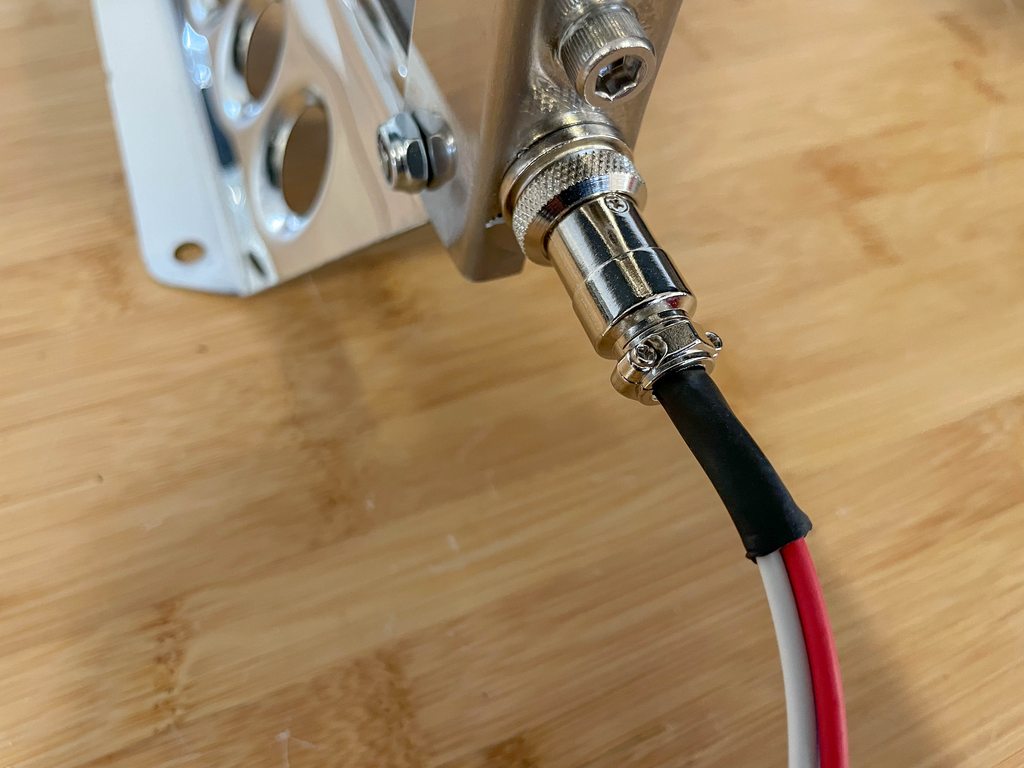
There's a neutral safety switch built into the shifter. I simply wired it into the OEM neutral safety switch in the dash harness. The other wires are for the line lock. Note the mil spec style wire harness connector.
In order to make clean holes in the carpet, I use this (a soldering iron). By the way, a larger job works perfectly for making seat belt and seat mount holes in new carpet too!

Here's the shifter installed. I hate using big screws to hold a shifter in place. They're not secure and they tend to slice and dice my skin if I get too close under the car (

). I use aircraft AN fasteners to hold it in place (nylocks under the car). I think you can see why plenty of racers use this setup. It's simply awesome.
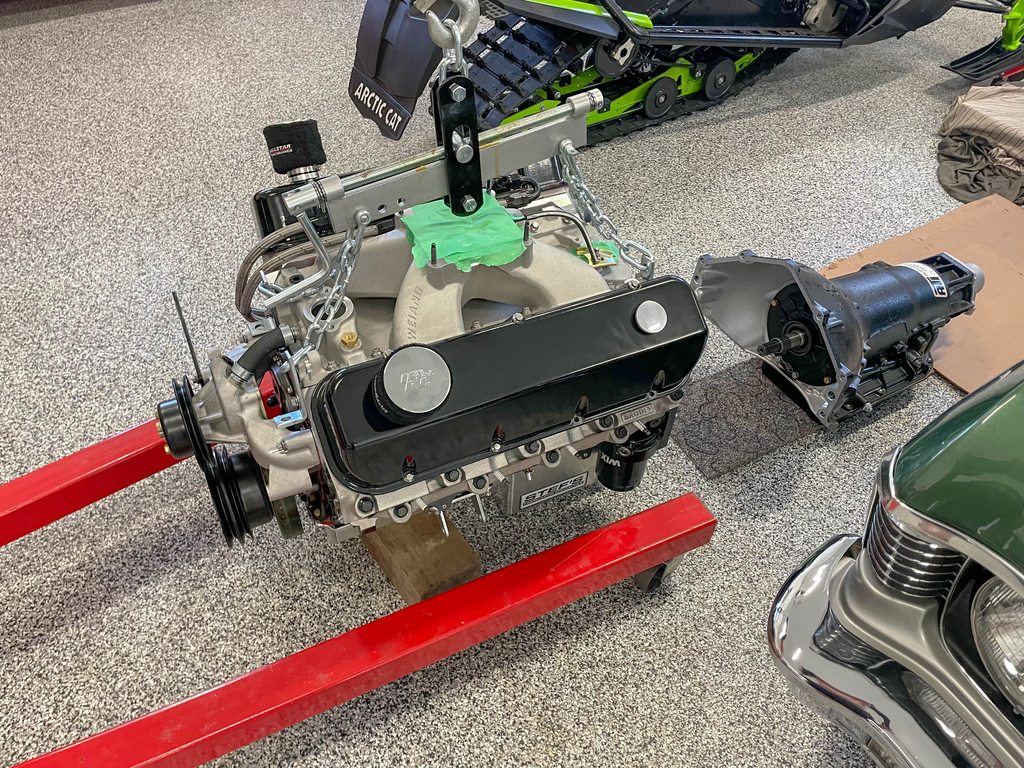
Here's my TH400 from ATI. It too is a piece (!!!). Choices for components were a collaboration between JC and myself. For street use, a forward pattern manual valve body is a good idea. Their reason is, most reverse pattern manual valve bodies do not provide engine braking. ATI's forward pattern manual valve body does. Additionally, it has standard 2.48:1. 1.48:1 and 1:1 ratios. The input shaft is a Vasco steel job and the balance is all heavy duty ATI hardware (too much to list here). The torque converter is a 10-inch Tree Master from ATI. In ancient times, I would have needed to use an 8-inch converter, but technology has marched forward and ATI can make the 10-inch example work perfectly. A long stroke engine helps...L-O-L. And if you've used an 8-inch converter on the street, you'll know it sometimes isn't fun. The flex plate is an SFI-certified piece from ATI. I don't like billet flex plates. The reason is, they don't flex (which they are supposed to do) and that can create all sorts of havoc on a street driven car.

Obviously, the engine and trans must be hooked together and there are some important considerations. Here's how I do it...
To mount the flex plate on the engine, you have to make sure it's oriented correctly (don't laugh...some get it backwards). I also use ARP fasteners and torque them to spec:

When installing a converter, it's easy enough to get it wrong. Plenty of good mechanics miss it. I use this simple ATI shipping tool to ensure the converter and transmission input splines are correctly engaged. It saves a ton of heartache if you don't get it right.

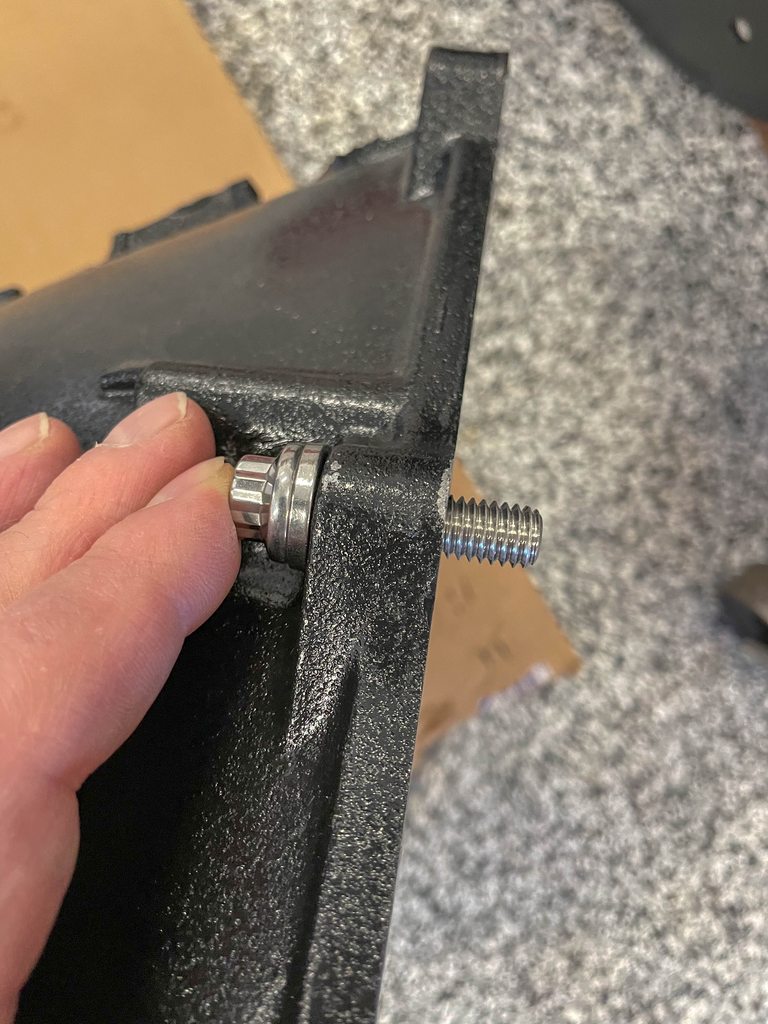
Another thing folks tend to miss is transmission bolt engagement (often too little). I use ARP 12-point fasteners here, and this photo shows how much thread engagement they offer.
When installing the transmission, you shouldn't draw it to the block by the bolt threads. Once on the dowels, you should be able to move it into place by hand (that's what is going on here):

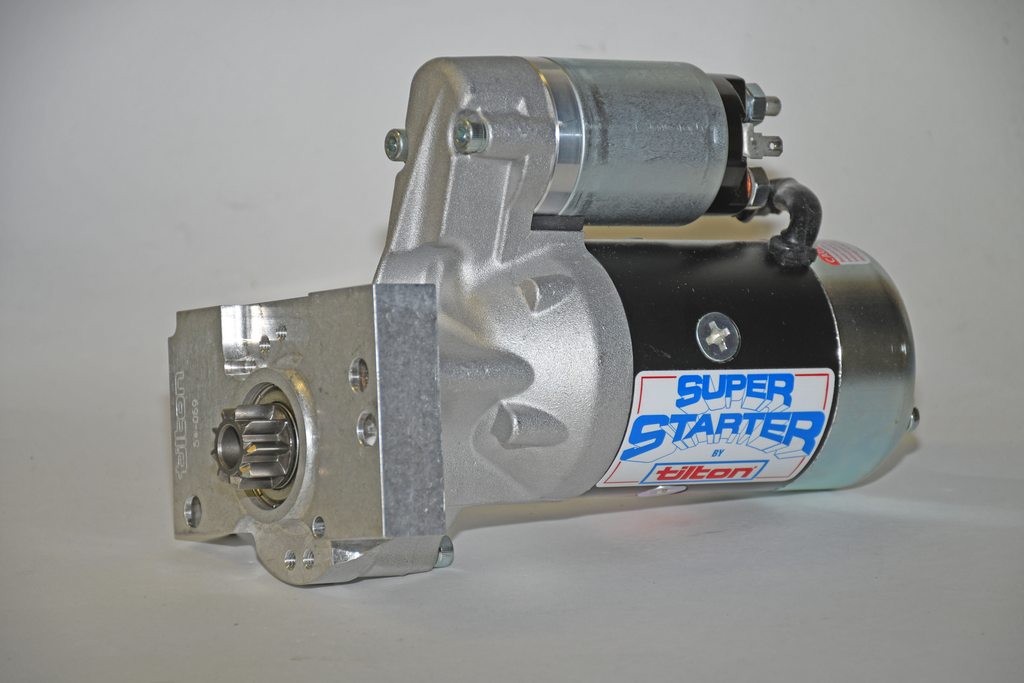
With the transmission case attached, here's the little dance I do to get the converter bolts installed and get the starter properly shimmed. It ain't pretty but it works...L-O-L:

Here's another look at the starter (Tilton simply builds stellar, no BS parts):
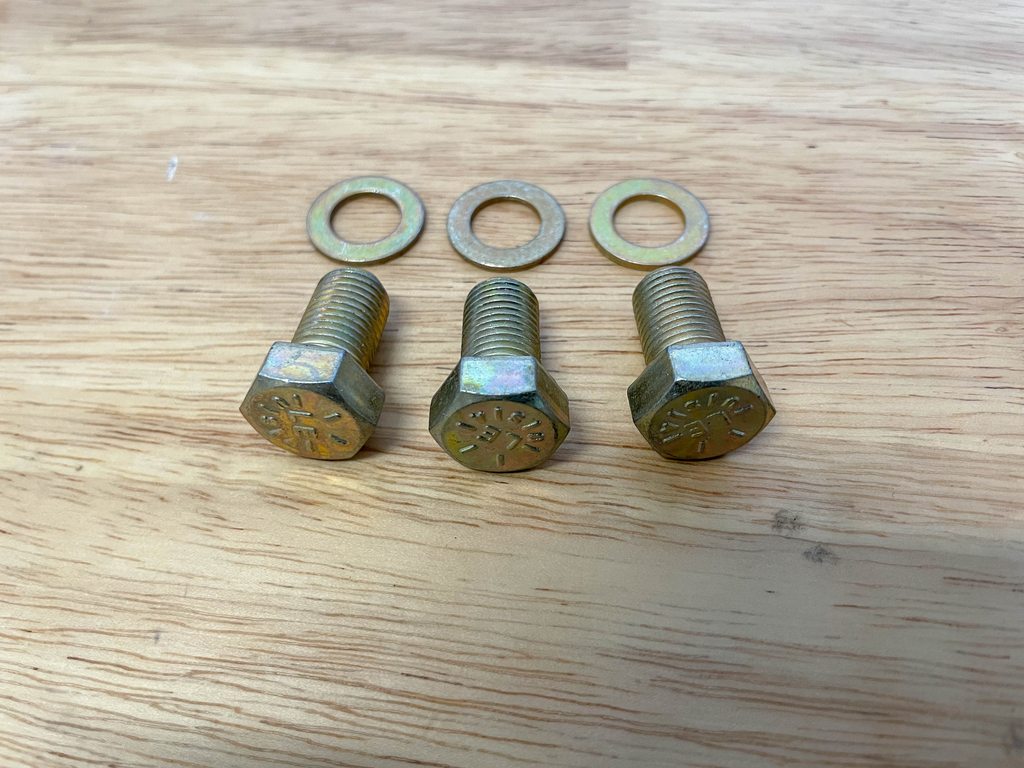
I prefer to use ATI's Grade 8 bolts for the converter (to flexplate). The reason is, a six-point head allows open end wrench access up inside the transmission bell housing.
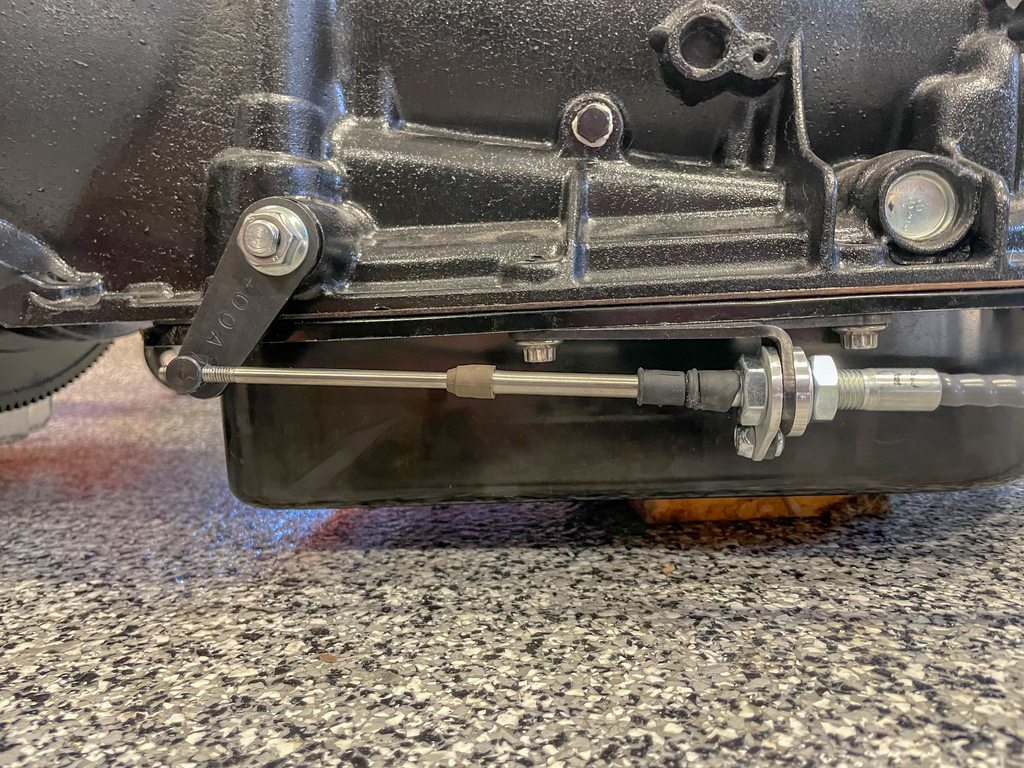
I did this earlier, but I'll it address it now. It's the shifter cable setup on the transmission. It is far easier to get it close to adjustment here and then final adjust after it's in the car. As you can see, Precision Performance uses all top quality components:
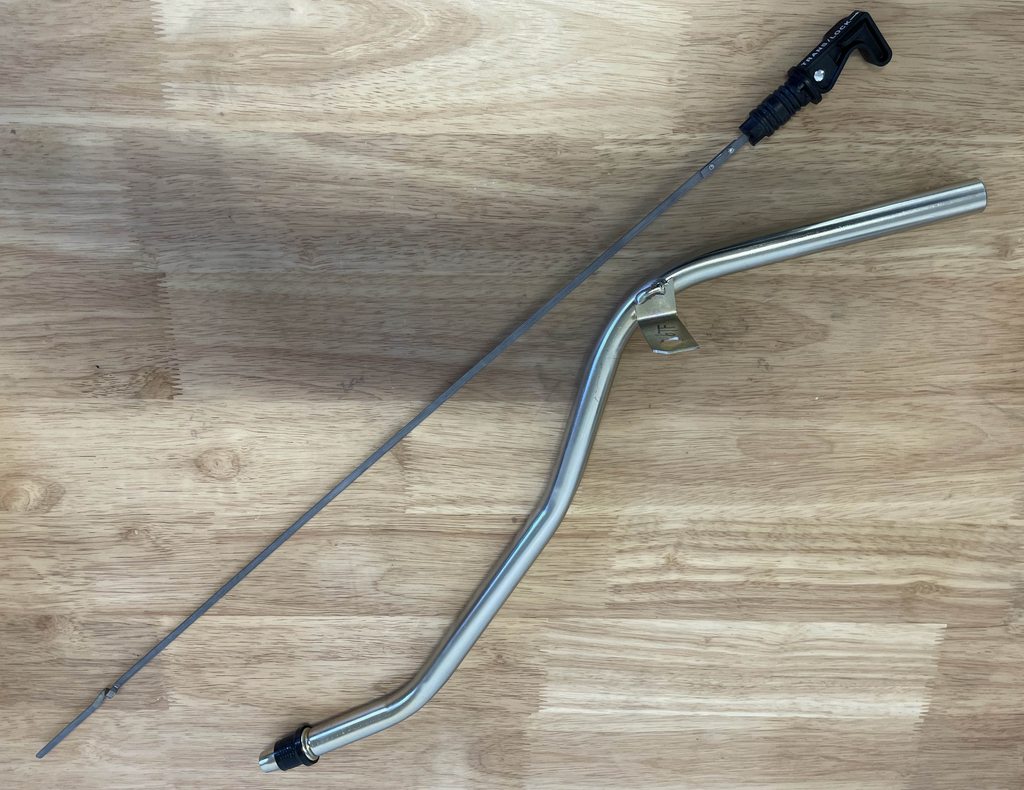
Something small but incredibly important is the transmission dipstick. I use this setup from Dan Masta's Trick Stick company. With this assembly, the dipstick actually locks (NHRA requirement). This prevents it from blowing out, and if you've ever experienced a broken automatic that spews out a dipstick tube (and consequently oils down your back tires), you'll know why it's a great idea!