
|
|
|
|||||||
| Register | Album Gallery | Thread Gallery | FAQ | Community | Calendar | Become a Paid Member | Today's Posts | Search |


|
|
|
Thread Tools | Display Modes |
|
#252
 02-22-2019, 01:44 PM
|
||||
|
||||
|
Nice and NICE!!!!!!!!!!!!!! Love the results. Thanks for the intel!!
__________________
Sam...  

|
|
#253
02-24-2019, 02:04 AM
|
||||
|
||||
|
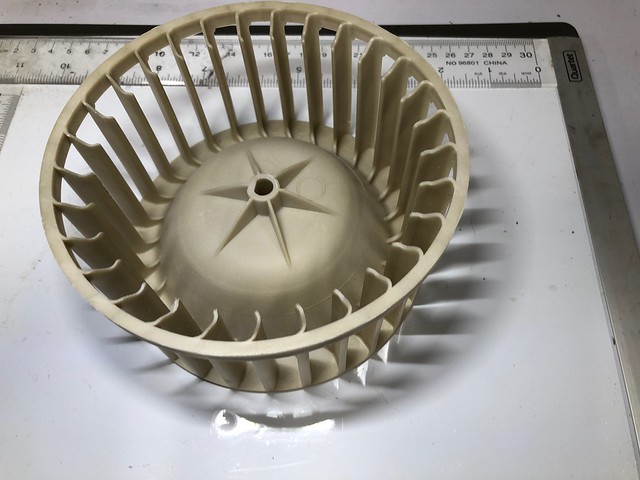
Experimenting with plastic, cleans it up and brightens nicely.
|
| The Following User Says Thank You to Edgemontvillage For This Useful Post: | ||
firstgenaddict (02-24-2019) | ||
|
#254
02-24-2019, 03:21 PM
|
||||
|
||||
|
WOW... I am going to have to get one of those...
__________________
~JAG~ NCRS#65120 68 GTO HO 4 spd Alpine Blue /Parchment 2 owner car #21783 71 Corvette LT1 45k miles Orig paint - Brandshatch Green - National Top Flight - last known 71 LT1 built. 71 Corvette LT1 42k miles Original paint - Black - black leather - only black LT1 known to exist. NUMEROUS Lemans blue Camaros, Monza Red and Daytona Yellow Corvettes & a Chevelle or two... Survivors, restored cars, & other photos https://picasaweb.google.com/lh/myphotos
|
|
#255
02-24-2019, 03:51 PM
|
||||
|
||||
|
Do they sell a larger cabinet? 18 X 8 X 8 ????
Maybe I can use the magic hose and spray Sams F85 from front to back???? Seriously, I am planning to use CO2 on as much of the car as possible as a first step. Ryan W31
__________________
 1969 Beaumont 350 Auto White Sold 1969 Beaumont 307 Auto Green Sold 1969 Chevelle SS 396-L35 Auto Blue Sold 1969 Oldsmobile Cutlass 'S' Sports Coupe W31
|
|
#256
02-25-2019, 01:27 PM
|
||||
|
||||
|
Quote:
__________________
~JAG~ NCRS#65120 68 GTO HO 4 spd Alpine Blue /Parchment 2 owner car #21783 71 Corvette LT1 45k miles Orig paint - Brandshatch Green - National Top Flight - last known 71 LT1 built. 71 Corvette LT1 42k miles Original paint - Black - black leather - only black LT1 known to exist. NUMEROUS Lemans blue Camaros, Monza Red and Daytona Yellow Corvettes & a Chevelle or two... Survivors, restored cars, & other photos https://picasaweb.google.com/lh/myphotos
|
|
#257
03-06-2020, 09:10 PM
|
||||
|
||||
|
A couple of members have asked us for updates on what we've been up to on the shop build. Well...most of our time has actually been spent working on our cars, after all that's what we built the shop for! After 3 years of on again, off again building rehab, project fatigue set in but we recently tackled a couple of smaller projects around the shop including the fugly paint booth doors. When we took over the building the paint booth turned out to be a great resource and we've used it extensively for all kinds of parts painting. Following extensive rehab of everything else the doors and surround weren't up to par with the rest of the shop. The doors consisted of 1 1/2" square stock steel ladder frames clad with 1/2" plywood and a makeshift filter system that was "unmaintainable". We did install a fan control system as the Devilbiss cross draft system was too powerful for the size of the booth and painting was difficult.
Paint booth doors circa original demo  Paint booth entry pre-update with deconstruction underway  Not only were the original doors a slap up affair but the door surrounds were equally poorly constructed; a mish-mash of wood and drywall. As the doors weigh more than 100lbs each and were secured by simple gate hinges with cardboard shims no less, its amazing they didn't fail. Our starting point was to remove the doors, strip the frames and deconstruct the door surrounds then rebuild both. Once the surrounds were stripped we rebuilt them with proper, robust framing better suited to support the weight of the doors. We discovered that the booth had been built out of square (like most everything else in the building...), in this case by about 5 inches! Yikes. Laser line showing the booth was constructed >5 inches out of square! 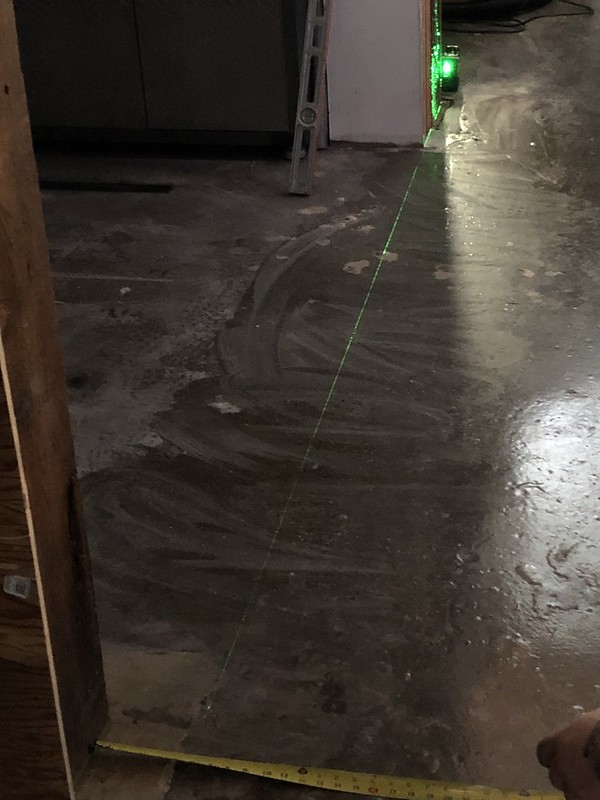 Re-framing the door frame supports  Completed woodwork for the door surround 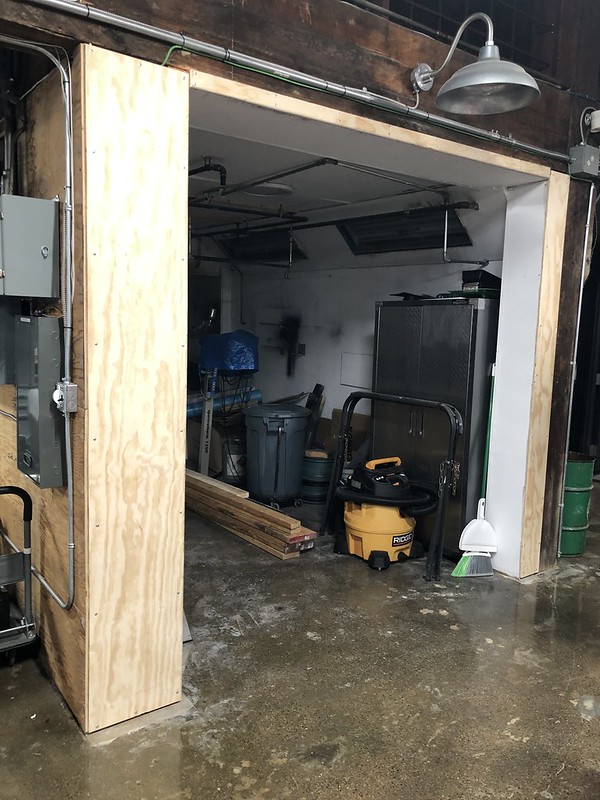 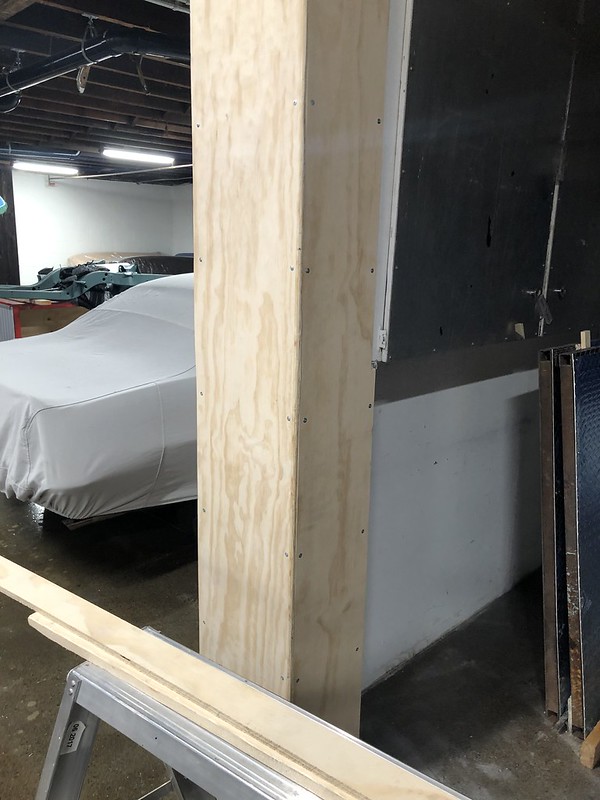 Our resident painter hard at it. 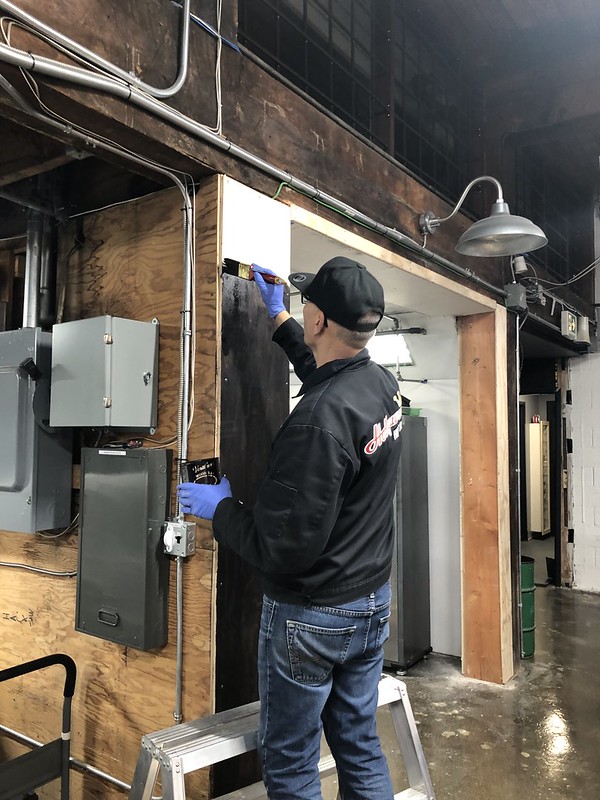 The completed and stained door surround. Aluminum protective trim was added to the header and corner 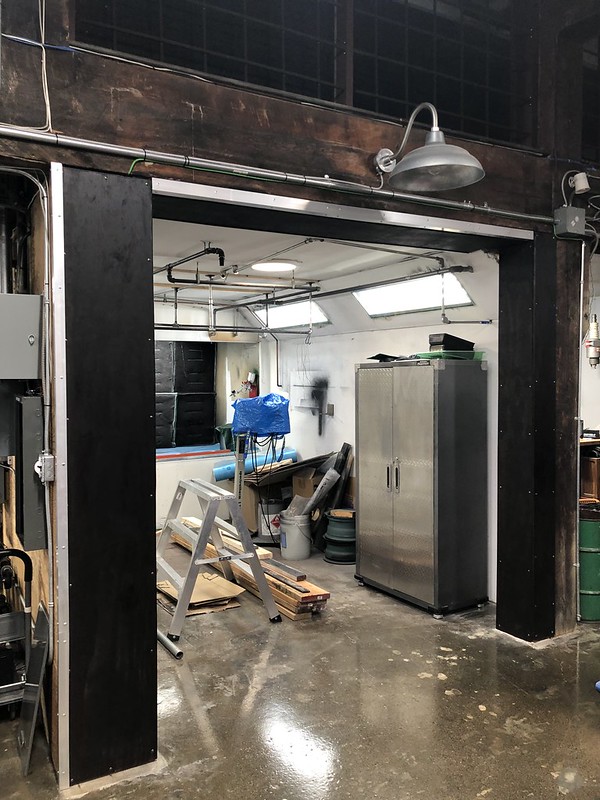 Efforts then turned to reskinning the doors. Paul favored a diamond-plate design in keeping with the rustic industrial theme of the shop. Doors were stripped to the frame.  Aluminum diamond plate was added by pre-drilling, attaching with self tapping screws and Lepage PL construction adhesive followed by clamps. The blue film is a protective plastic cover that was later removed. 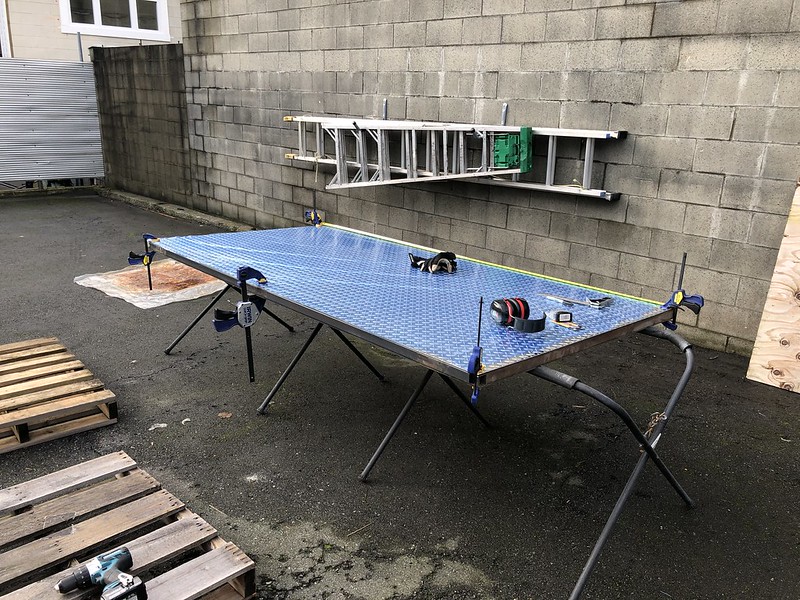 The doors needed a hinge system to attach the doors to the steel tube door frame and to the newly rebuilt wood surrounds. As each side is a different material and width, standard hinges weren't an option. Instead we sourced 4" unplated and undrilled hinges. Using the plasma cutter we cut one side down to to 1 1/2" inches to match the frame while the other side was drilled on the drill press to accept bolts so it could be attached to the wood frame. 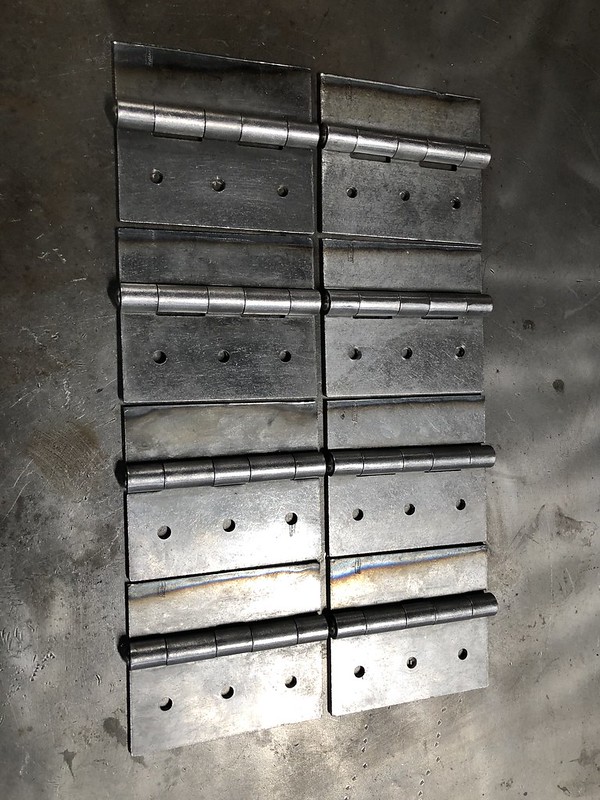 We welded the hinges to the steel frame and bolted the other side to the door surround. With the aluminum diamond plate weighing in at maybe 50lbs a sheet these doors are heavy!  Now we need to add filters to the doors. There's nothing commercially available (that I could find) to retrofit the doors for paint booth style filter vents. So we adapted furnace filter vent frames instead that accept regular furnace filters. We cut out the vent holes using the plasma cutter, drilled, bolted then sealed the units in place. Aluminum trim was added around the edge and mesh was added to the filter box front mostly for aesthetics. Looks simple enough however it took a few hours to install. Furnace filter vent frame 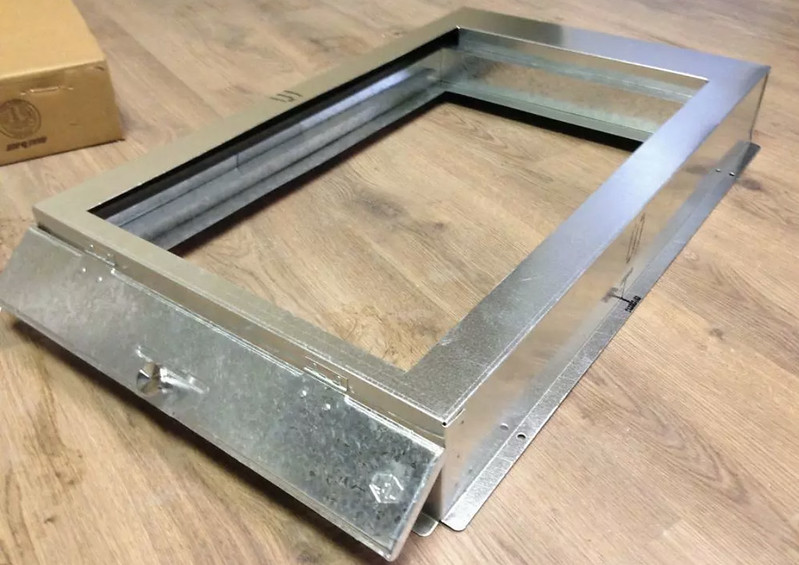 Installed, trimmed and sealed 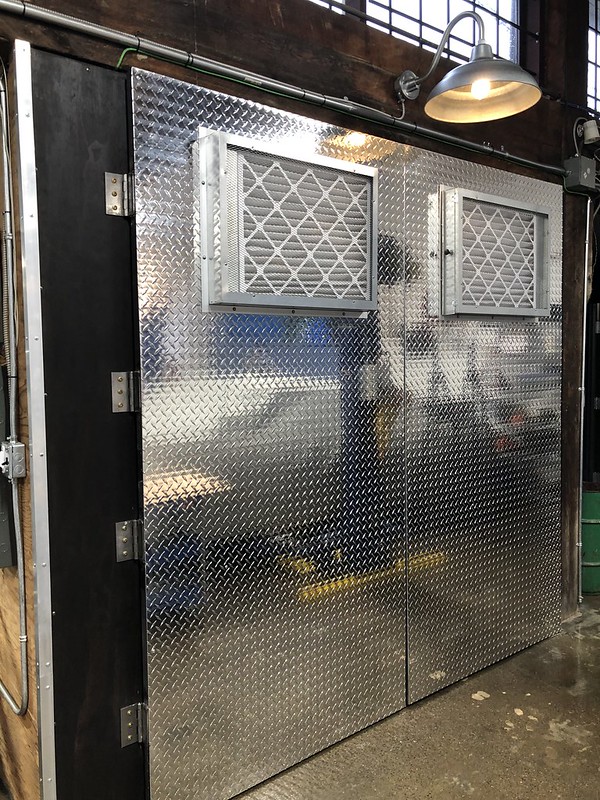 As there wasn't sufficient room to add a conventional door closer to the top of the door(s) instead we used heavy duty storm door closers that install on the inside of the door frame and to the surround. They handled the weight of the doors no problem. To finish off the doors we couldn't use just any door handles...so instead I bought a couple of vintage Snap-on combination wrenches and welded threaded tubes to them as standoffs (I still have one to convert) then drilled and bolted through the door skin. 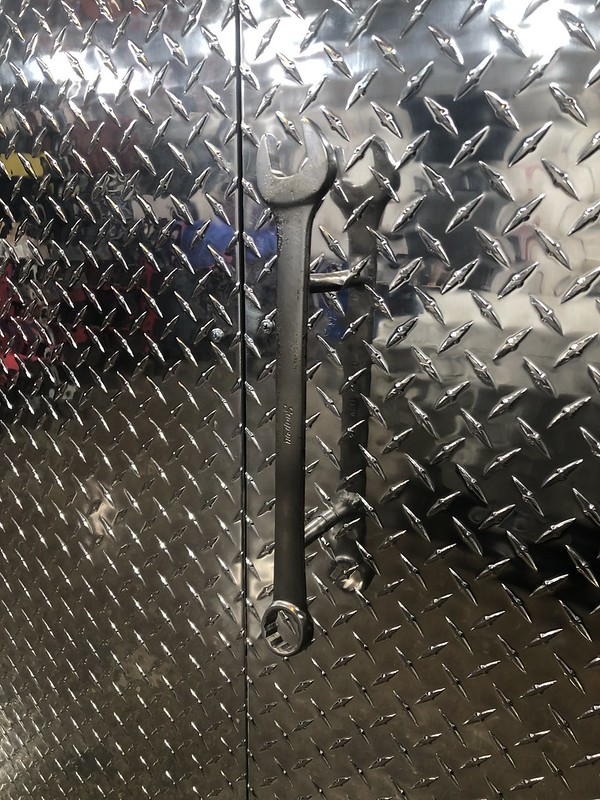  While we were at it, why not add a different style Snap-on wrench (we like our Snap-on!) to serve as the slider handle for the bathroom door we built a couple of years ago! 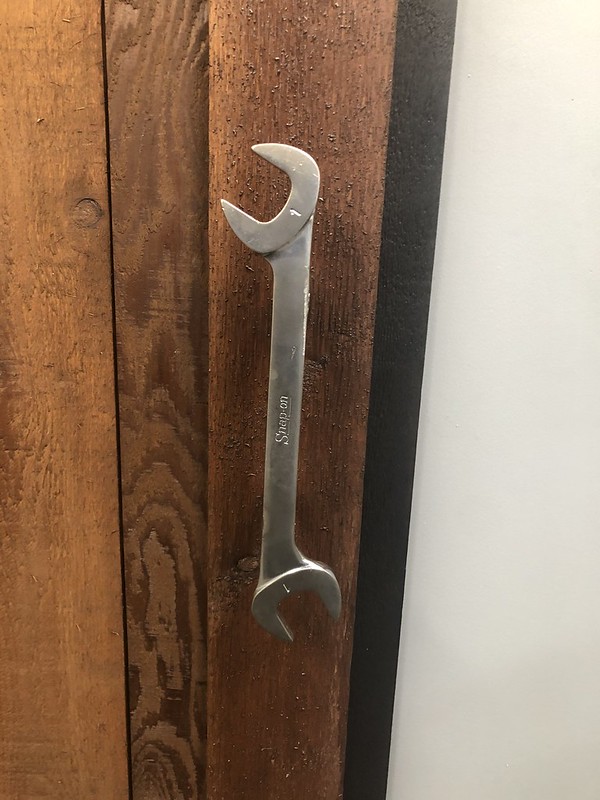 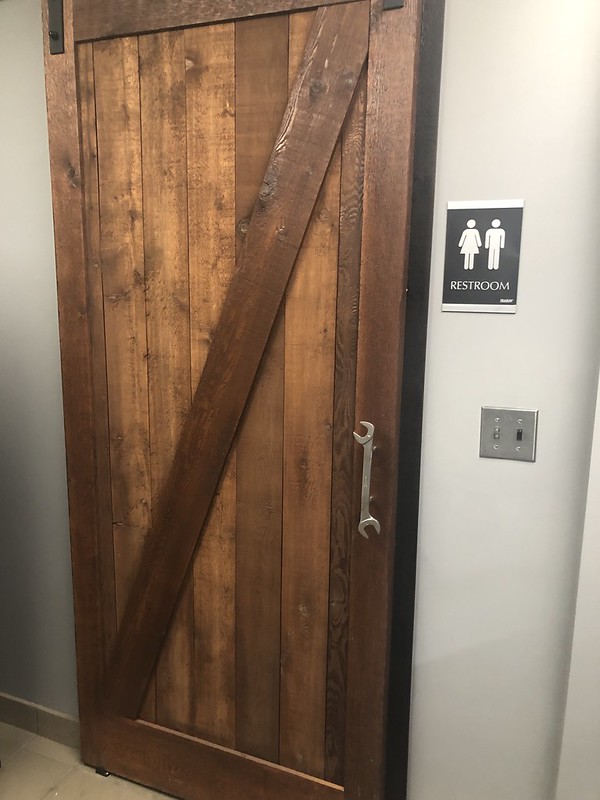
Last edited by Edgemontvillage; 03-06-2020 at 11:28 PM.
|
| The Following 6 Users Say Thank You to Edgemontvillage For This Useful Post: | ||
dykstra (03-10-2020), HawkX66 (03-09-2020), L_e_e (03-06-2020), MosportGreen66 (03-08-2020), PeteLeathersac (03-06-2020), Xplantdad (03-06-2020) | ||
|
#258
03-06-2020, 10:28 PM
|
||||
|
||||
|
Wow and WOW! Looks terrific. Snap-on handles......lovin it!!!!!

__________________
Sam...
|
|
#259
03-07-2020, 01:55 AM
|
|||
|
|||
|
Looks great Lloyd. Glad to be part of it, even if I am just the resident painter lol!
|
|
#260
03-07-2020, 04:51 PM
|
||||
|
||||
|
You can buy a manometer pretty inexpensively, port one side to the booth and one side to post filter and it will give you a difference in air pressure, tell you if you've got too much fan and also easier to determine when to replace your exit filters.
__________________
~JAG~ NCRS#65120 68 GTO HO 4 spd Alpine Blue /Parchment 2 owner car #21783 71 Corvette LT1 45k miles Orig paint - Brandshatch Green - National Top Flight - last known 71 LT1 built. 71 Corvette LT1 42k miles Original paint - Black - black leather - only black LT1 known to exist. NUMEROUS Lemans blue Camaros, Monza Red and Daytona Yellow Corvettes & a Chevelle or two... Survivors, restored cars, & other photos https://picasaweb.google.com/lh/myphotos
|
| The Following User Says Thank You to firstgenaddict For This Useful Post: | ||
NorCam (03-08-2020) | ||
|
|
|


 Linear Mode

